
If you’ve ever been to one of my education sessions you know I give everyone a chapstick just for showing up. If you’ve never been to one of my education sessions, what is wrong with you??! Just kidding! I get a lot of compliments on my chapstick and it’s because I put addictive substances in them. You’ve all been warned!
I’ve invested in a saucepan from Goodwill specifically for the purpose of making my Essential Oil projects. It’s just easier. It can be difficult to get all that beeswax and coconut oil out of a pan and if you are trying to cook with the same pan that you are using for your projects it can get pretty frustrating. So start by gathering your supplies, I like to make this in a big batch so it will make about 50 tubes. You could use empty baby food jars if you don’t want to purchase chapstick tubes. One day I even went around and chopped all the old chapsticks off that I didn’t like, I rolled the tube down again and refilled it with my homemade lip balm.
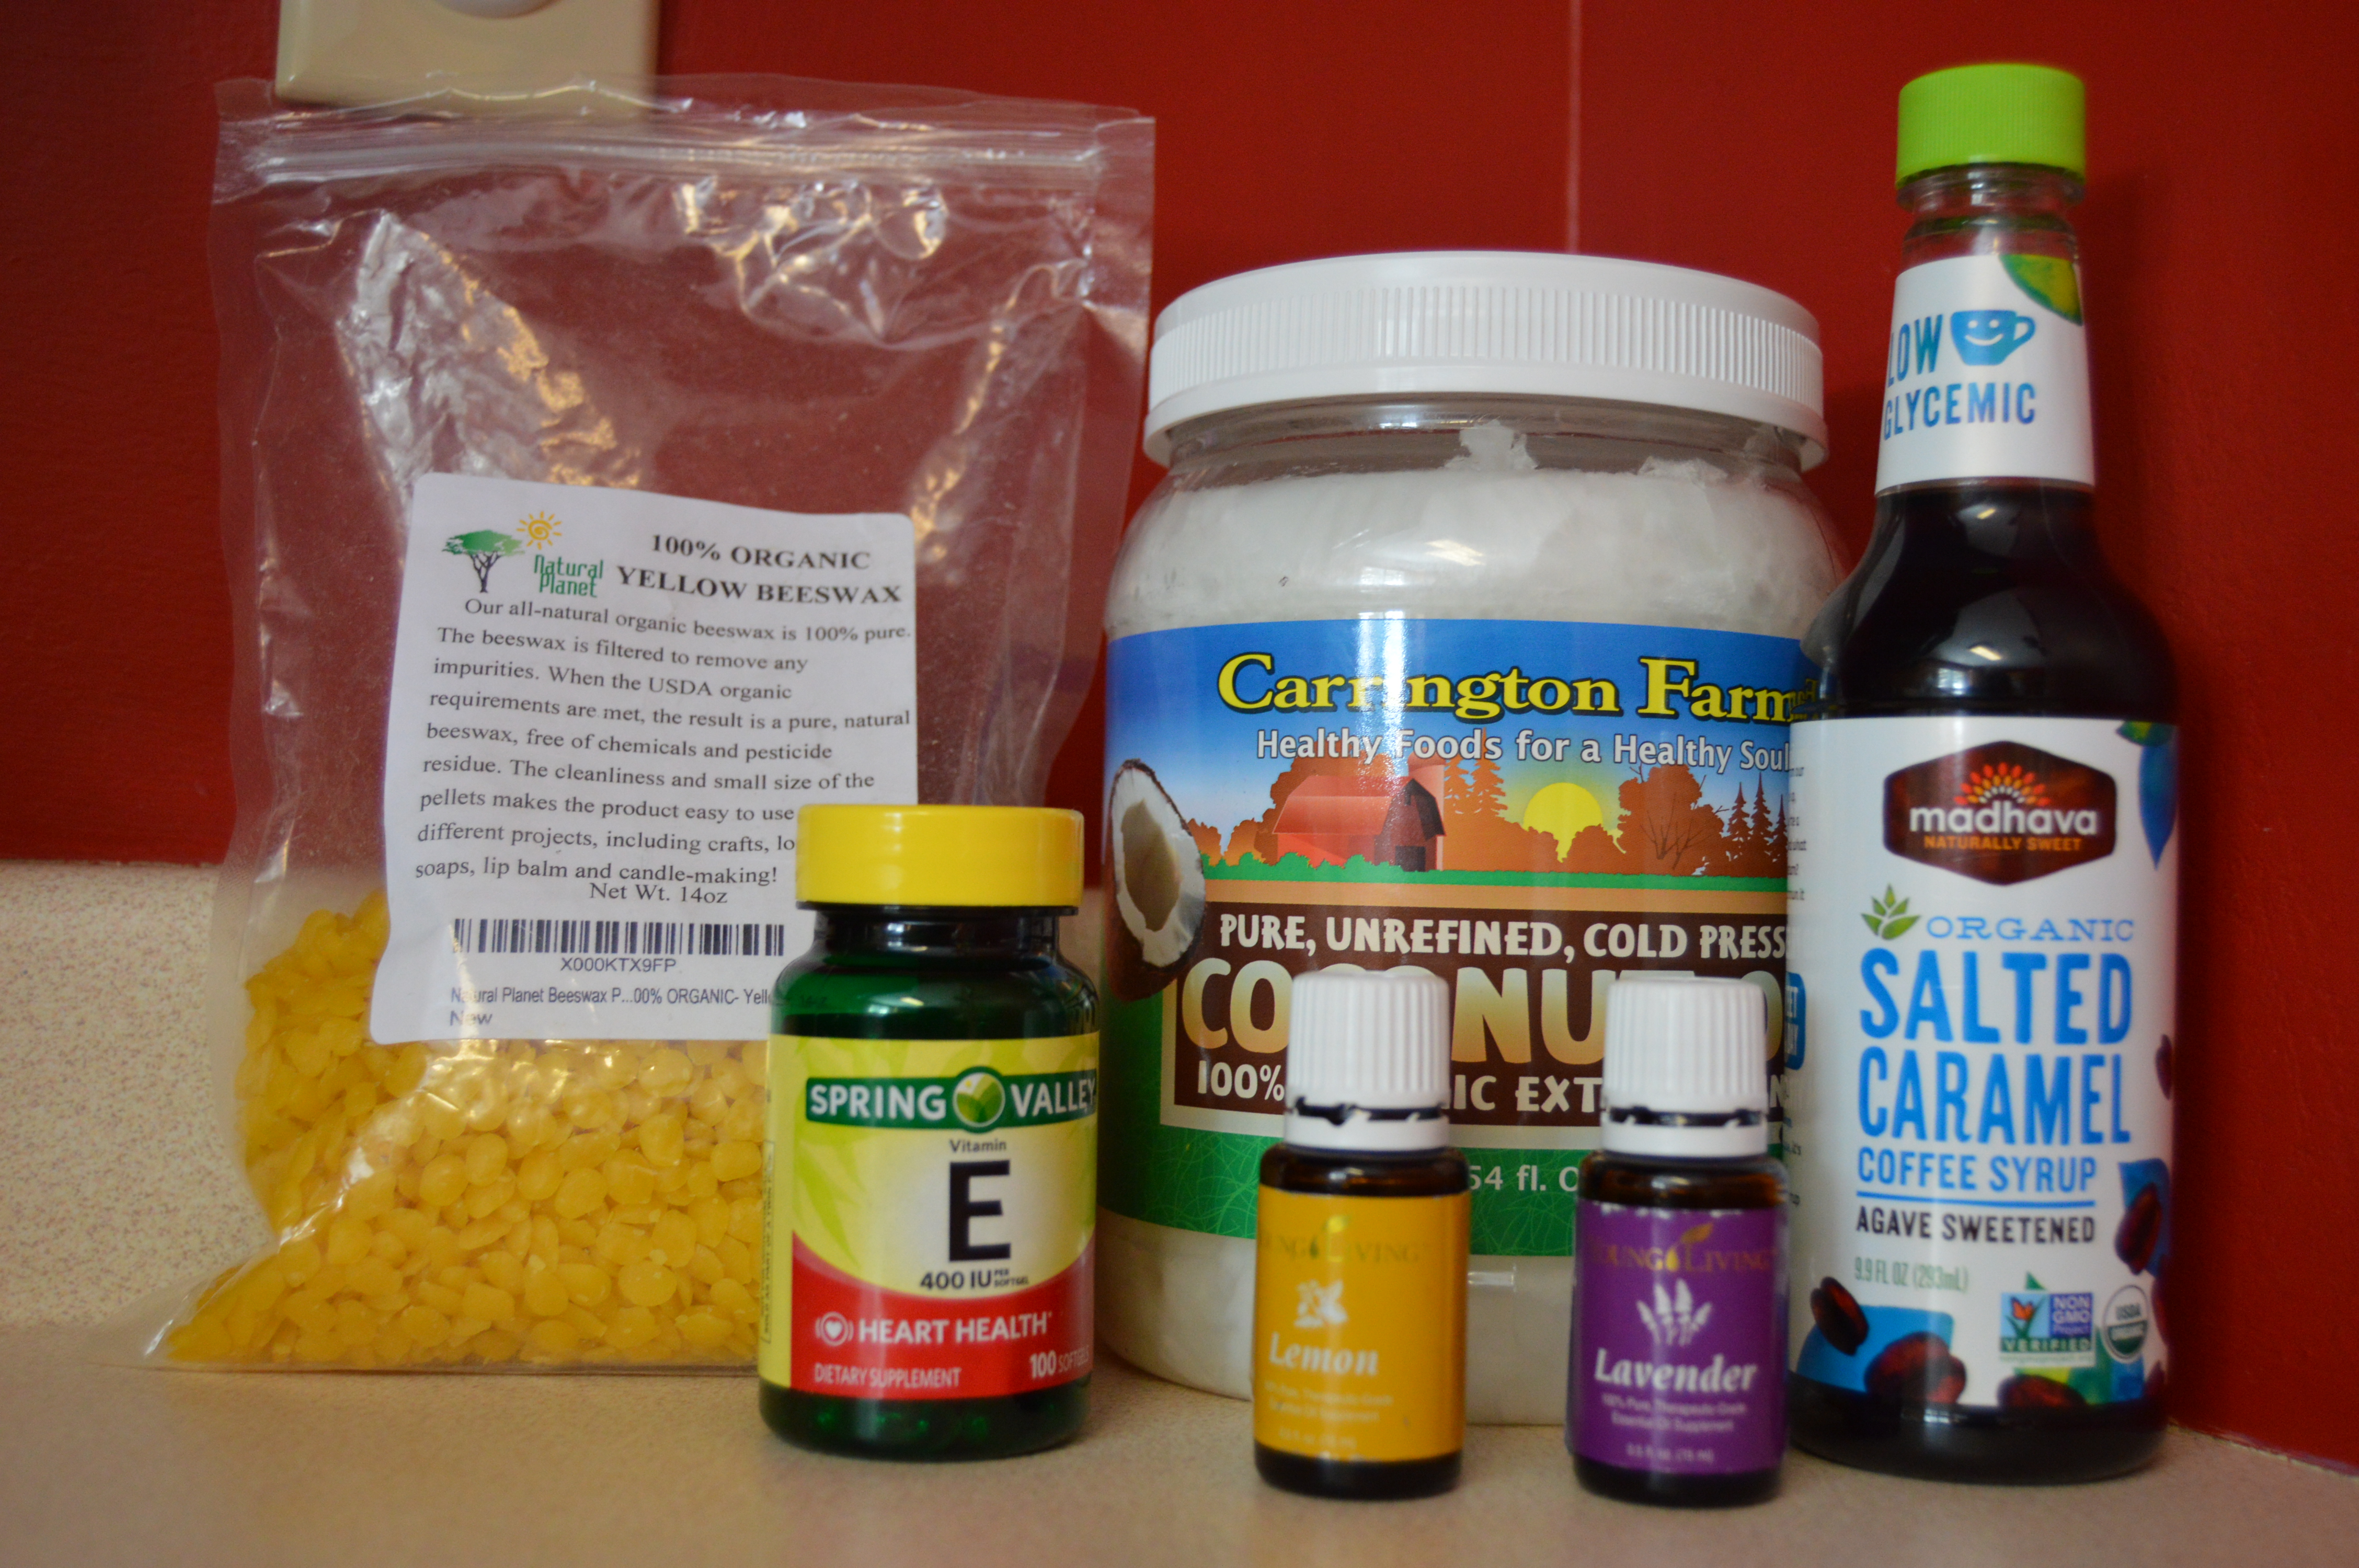
Start by gathering all of your ingredients. It’s always good to know if you have everything!
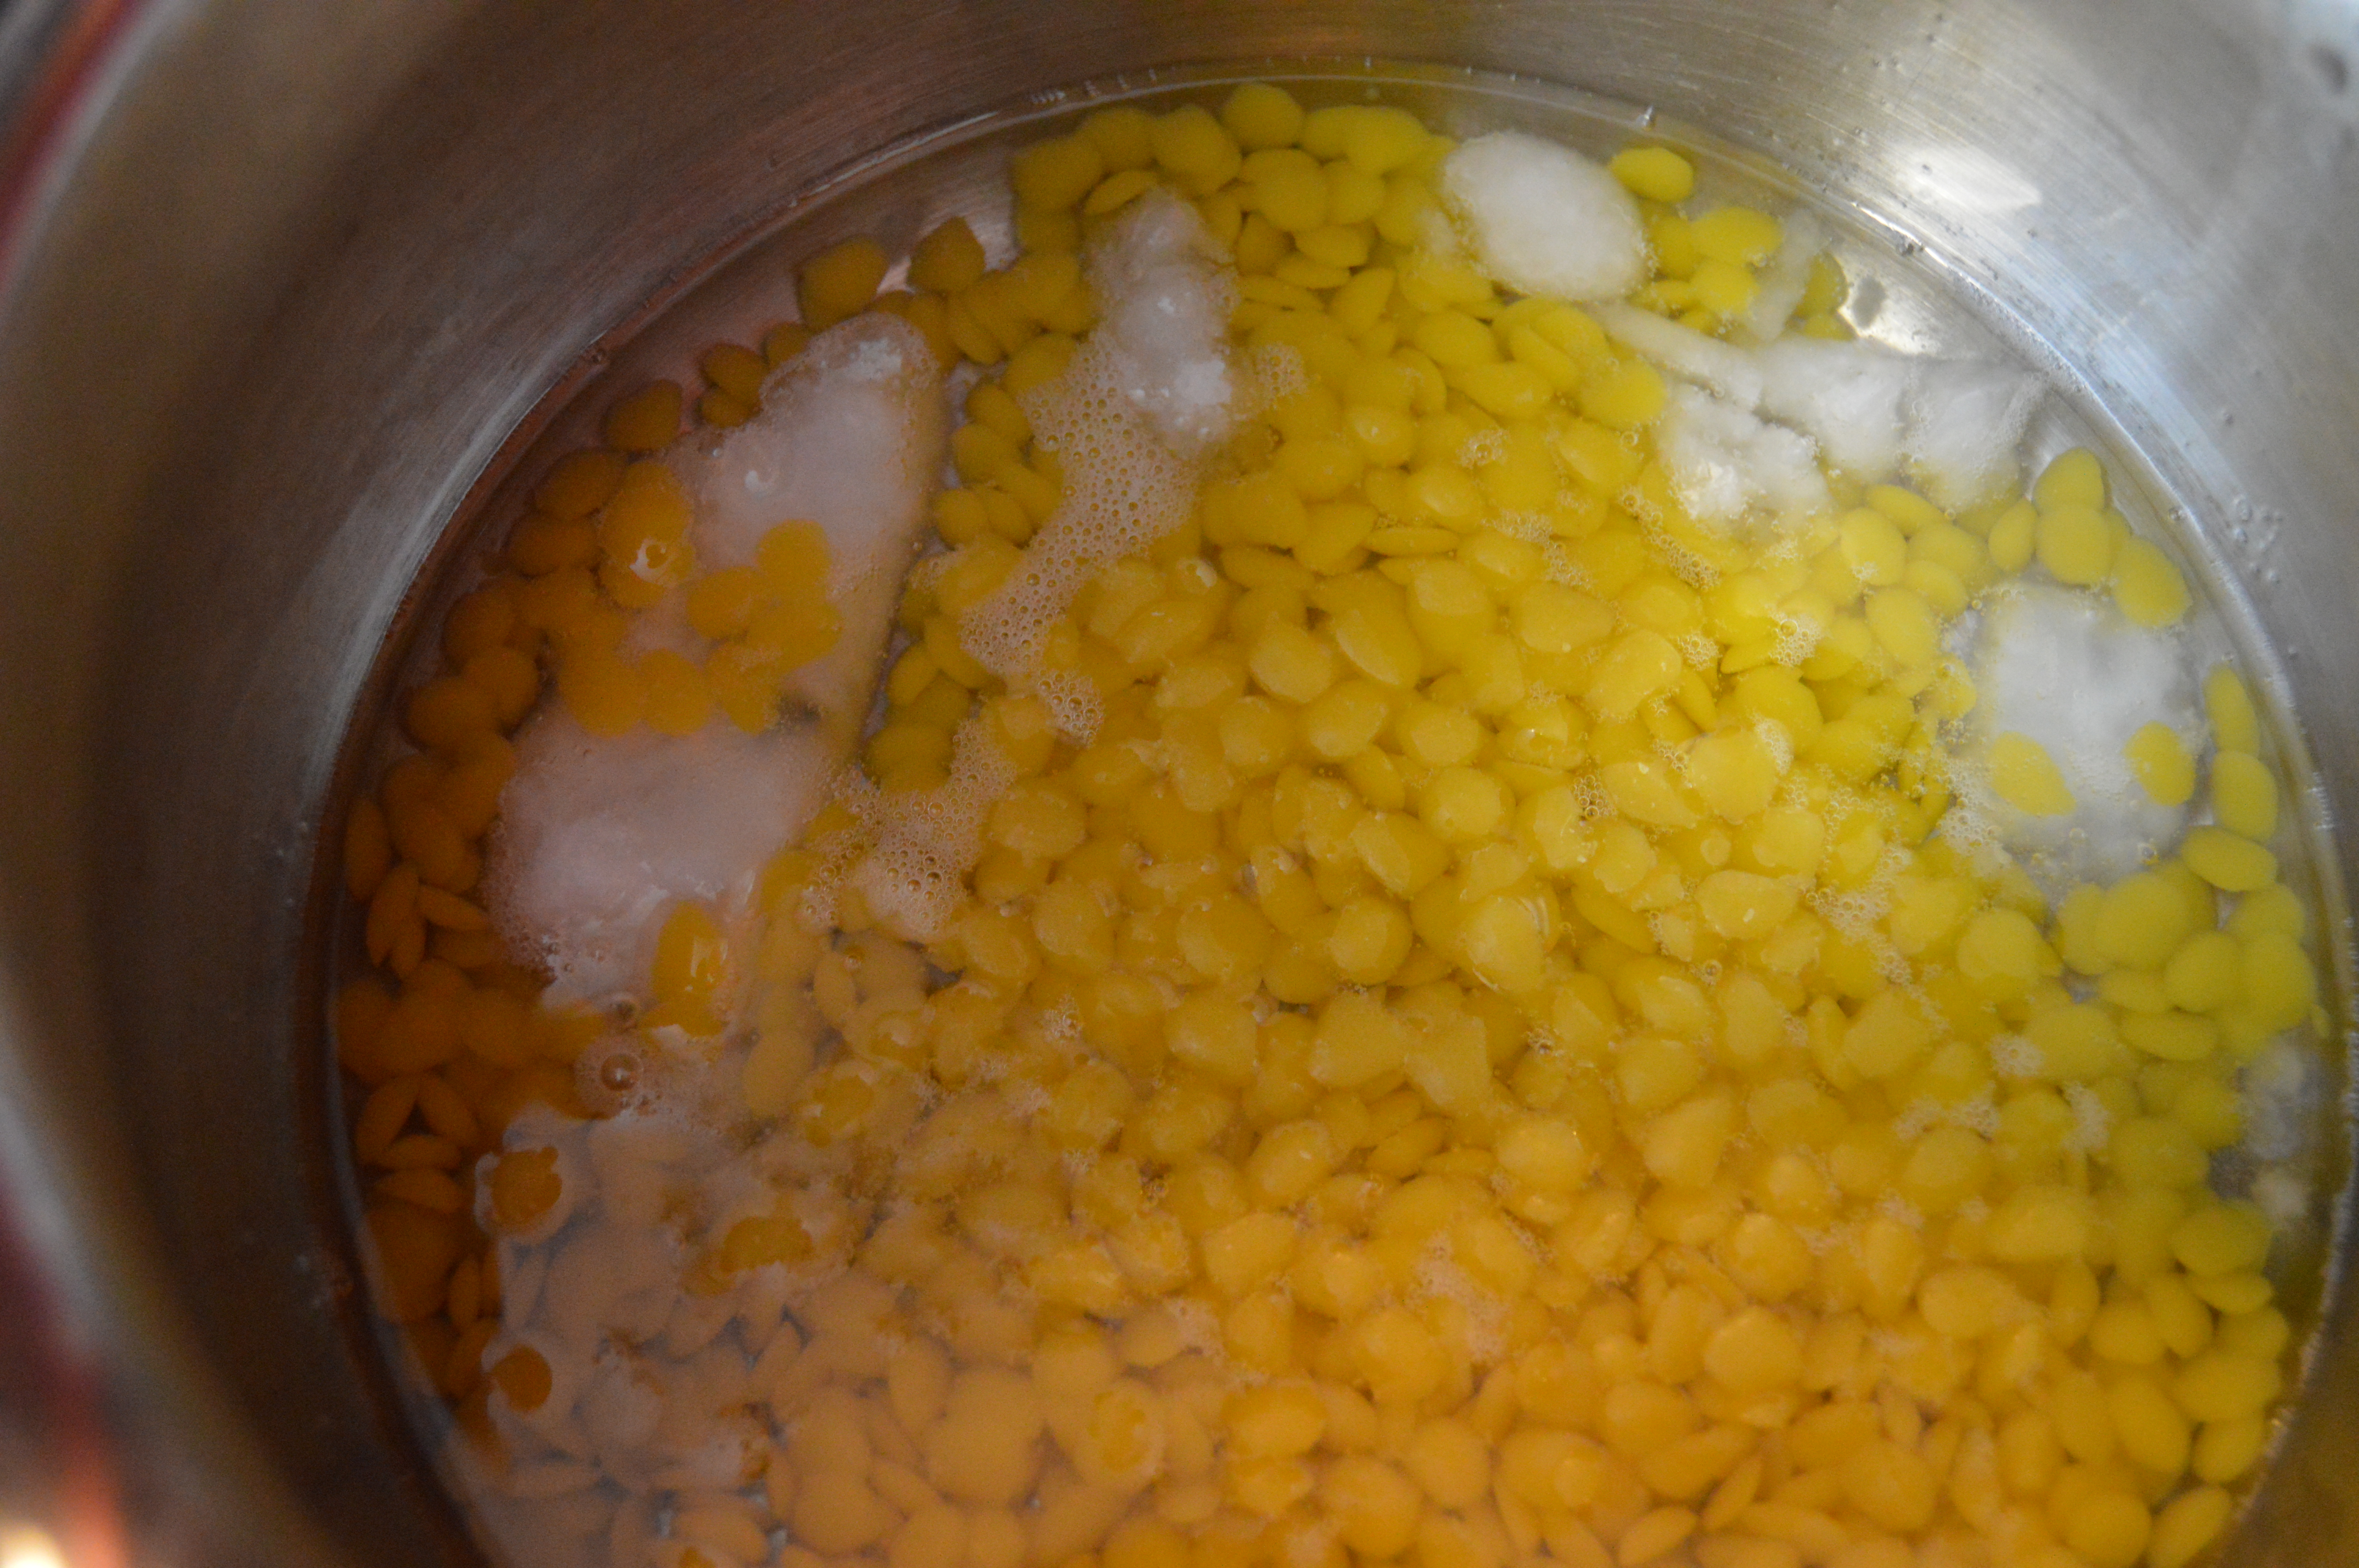
Then melt the coconut oil and beeswax in a saucepan or double boiler. The coconut oil will melt rather quickly but the beeswax pellets may take a little longer. The beeswax pellets are what will keep your chapstick solid even while it rides around in your back pocket! So to preoccupy yourself while these little guys melt, rubber band all your chapstick tubes together and put them on a paper plate.
Once the beeswax is melted remove it from the heat. Add your Vitamin E capsules by poking a hole in them with a safety pin and squeezing the contents into the saucepan. Sometimes the capsules are hard to squeeze. If you want to soften them a bit you can pop them in the microwave for about 20 seconds, but I won’t be held liable if they explode in your microwave. You have been warned.
Add your honey or agave nectar, today I only had my Agave Caramel coffee sweetener so I thought hey Caramel and Lavender… that should work. I actually really want to try this recipe with the Blue Agave Natural Sweetener from Young Living, so if any of you try it please let me know how it works!
Next I add my choice of Essential Oil. Lavender is my favorite, but a lot of people seem to like the Peppermint batch that I made better. I think replacing the coconut oil with cocoa butter and using Peppermint Essential Oil would tempt me to eat the tube, so I’ve not done this mixture yet. I’ve also wanted to try a citrus blend, but I’m very nervous that it would photosensitize (is that a word?) my lips. Maybe it would be diluted enough that it wouldn’t matter.
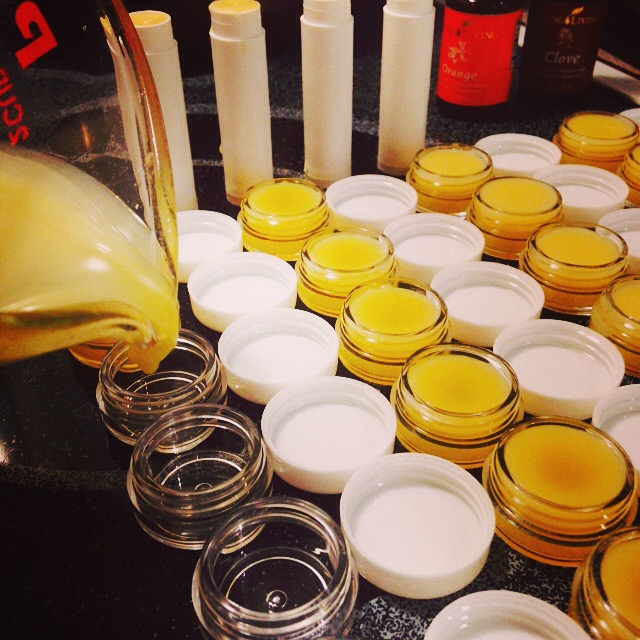
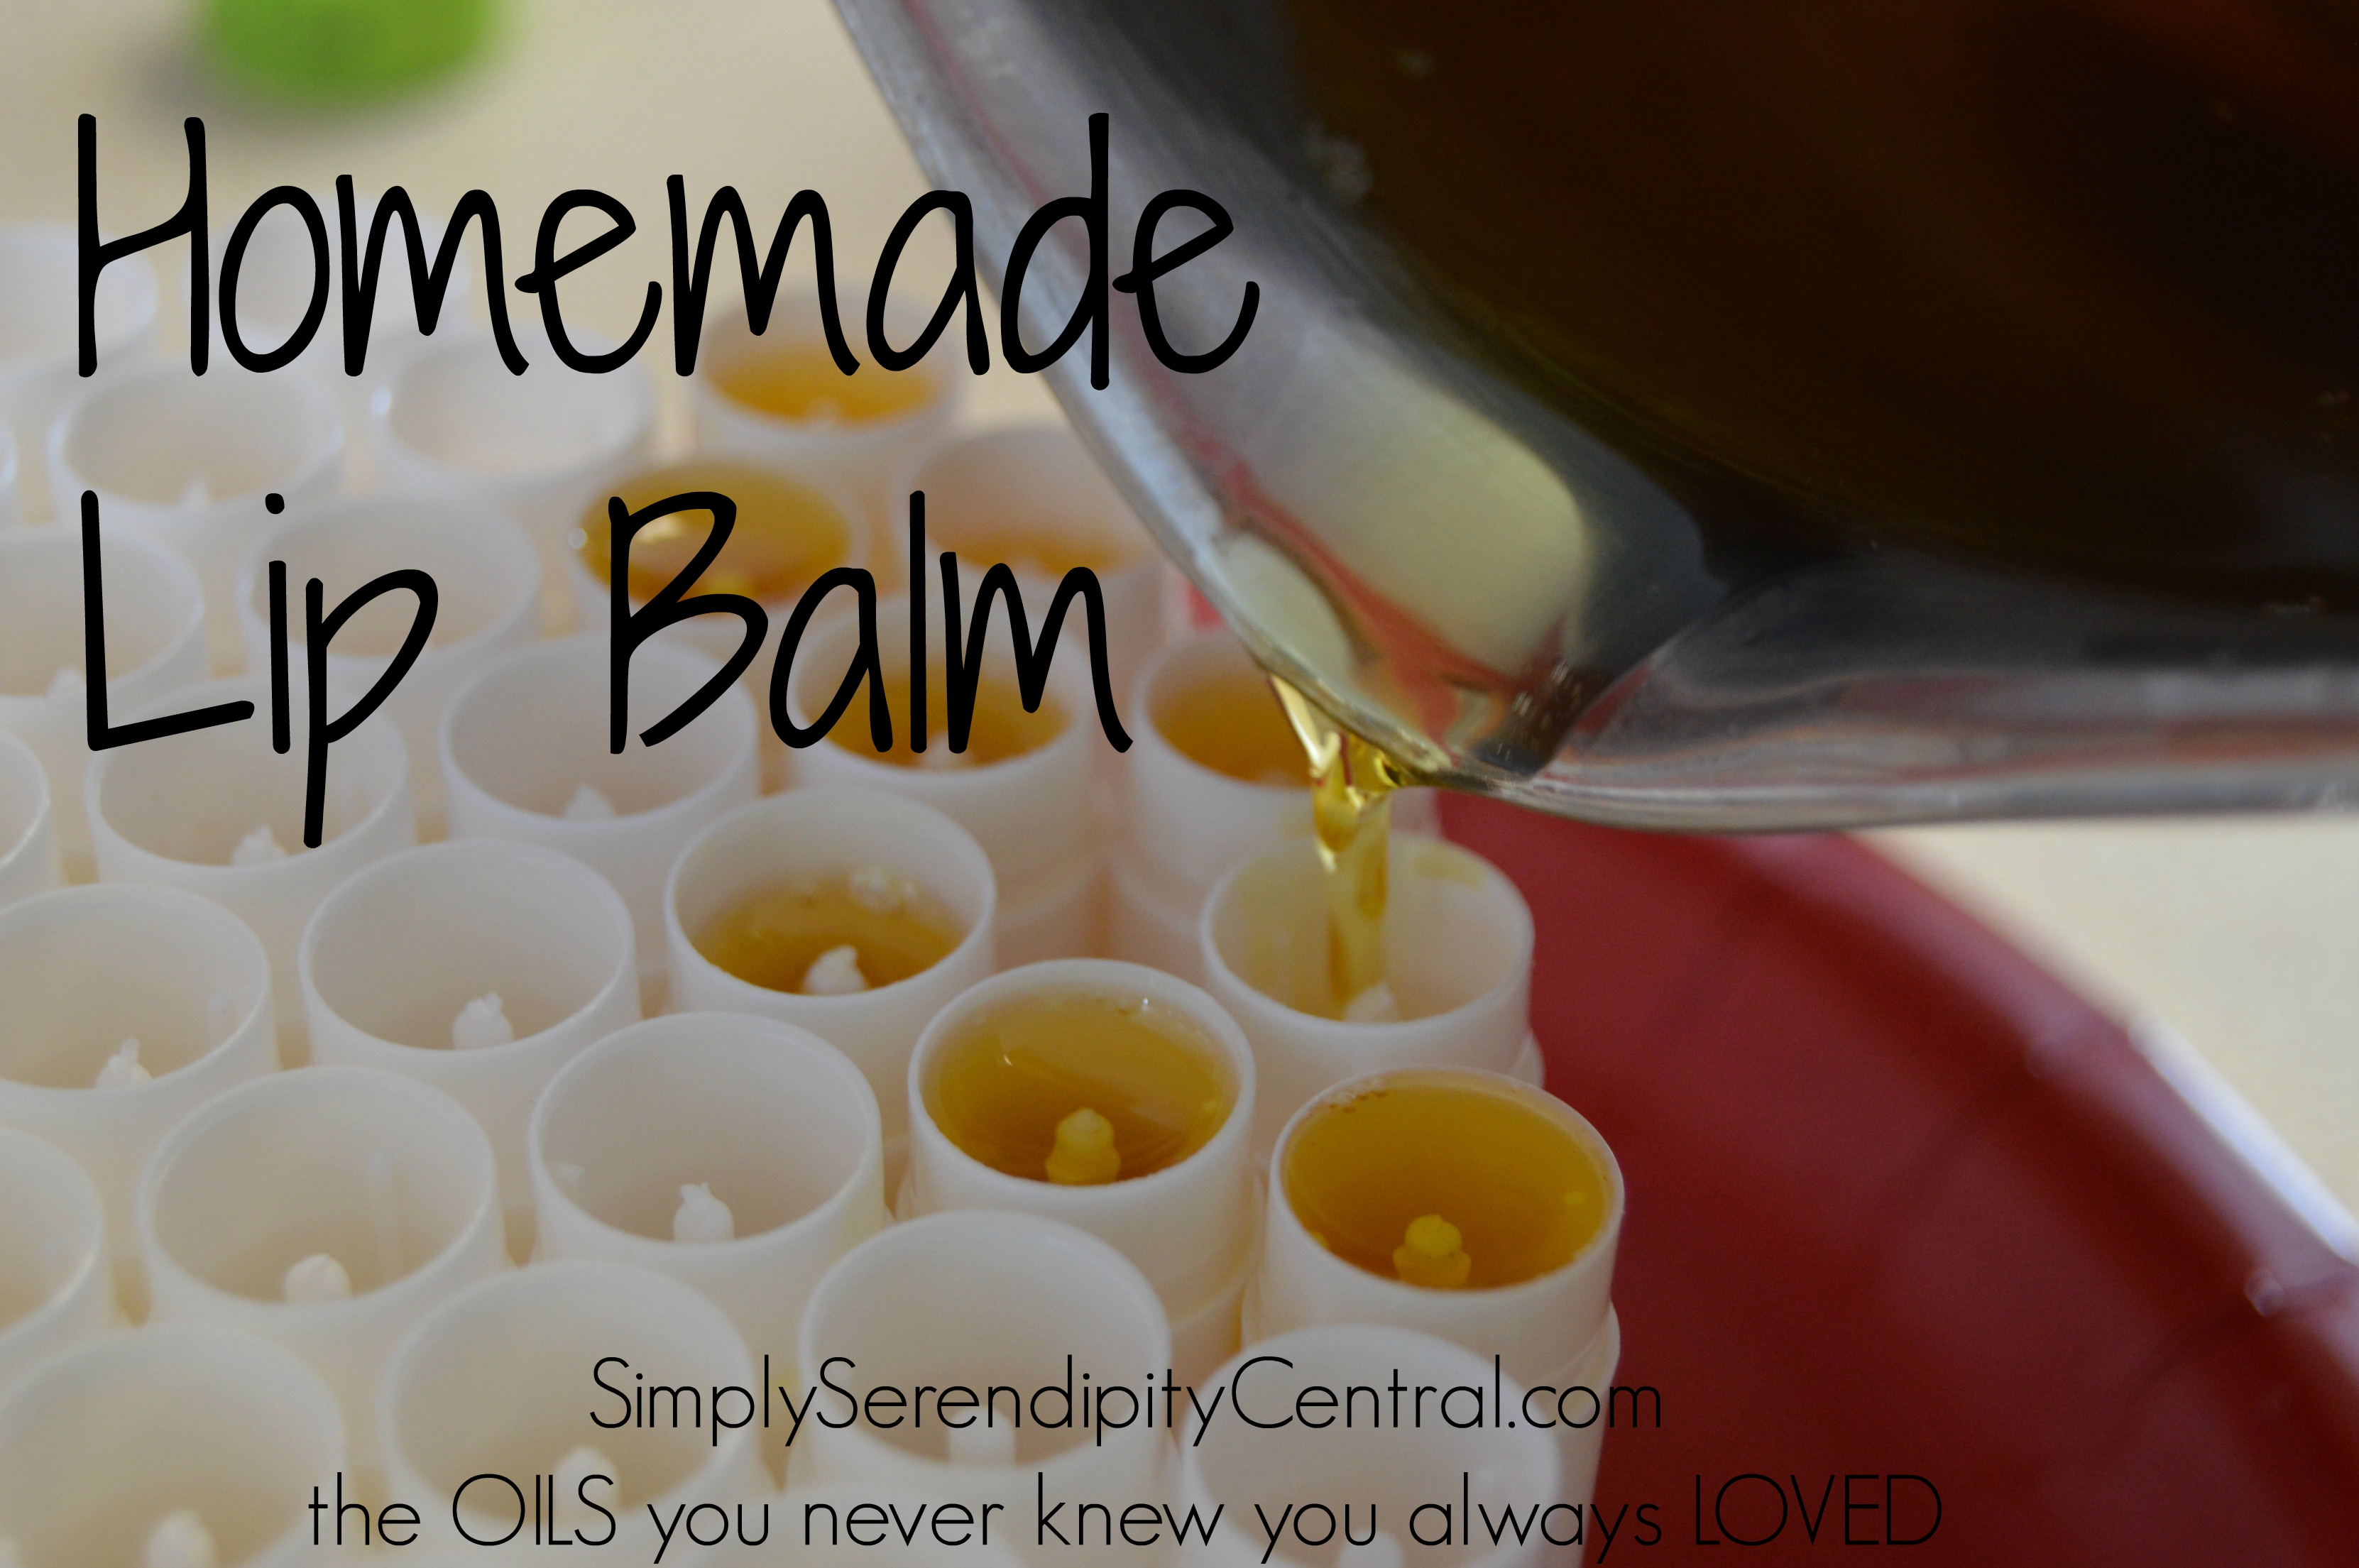
Next comes the tricky part, if you have a steady hand go ahead and start slowly pouring the mixture into the tubes. If you spill, no worries thats why we put them on the paper plate! If you are a little annoyed by wasting any mixture that might slip through the tubes you can get yourself a pipette and put it in the tubes that way. While this is cleaner, it takes FOREVER and this momma ain’t got time for that! In fact chances are pretty good your mixture will start to cool and solidify before you get it all in the tubes, but if you are making a smaller batch it would work just fine.
The tubes will need to cool for about 2-3 hours. Put the caps on the tubes and wipe off any balm that may have gotten on the sides or in the bottom of the tubes. If you really want to up the fancy factor you can take the patterned duct tape and wrap your tubes in that. Not me, wham bam no thank you ma’am, I’m plain jane…
Recipe:
- 1 cup Coconut Oil
- ½ cup (heaping)Beeswax Pellets
- 4 Vitamin E Capsules
- 1 tsp Honey or Agave Sweetener
- 70 drops of Young Living Essential Oil
- 50 empty chapstick tubes or small jars
To find AMAZING posts by Tracy, check out her website!
Lib Balm
Ingredients
- 1 cup Coconut Oil
- 1/2 cup Beeswax pellets (heaping)
- 4 capsules Vitamin E
- 1 tsp. Honey or Agave Sweetener
- 70 drops Young Living Essential Oil of Choice
- 50 Empty Chapstick Tubes or Small Jars